
Another easy project for practice. I will show you from start to finish how to make a reversible tote bag.
Supplies
Beginner’s Tools
Universal Needle
All-Purpose Thread
1 yard Right Side (Outside)
1 yard Wrong Side (Lining)
Step 1 – Wash & Dry
• Washing and drying will prevent it from shrinking later. This will give your threads more strength to hold the seams together.
Step 2 – Press your fabric
• Heat up our iron to the highest setting.
• Spread your fabric out on an ironing board. I’m using an ironing mat.
• Layer a plain cotton t-shirt over it. This will protect your fabric.
• Place your iron on the t-shirt for 5 seconds then lift and move it to a different section.
• Lift and repeat until all the creases have disappeared. Do not drag the iron across the shirt.


Step 3 – Measurements
• Using a pen or dark fabric pencil, draw two 14×30 inch piece.
• Draw another 2 pieces this time 3in wide and 5ft long.
• You should have a total of four pieces.
• The rectangle fabrics will be used for your lining and outside fabric.
• The long pieces will be your shoulder strap. The length of the shoulder strap can be measured to your height instead of 5ft.
Step 4 – Mark Your Fabric Grain
• Inspect your fabric on a flat surface. Most fabrics will have a selvage when you purchase it at the store. The fabric grain runs parallel the selvae
• Make a mark indicating the fabric grain on the side of the fabric that you won’t be using.

Step – Cut Your Fabric
Step 6 – Sewing The Raw Edges
• Take one of your 14×30 inch pieces and fold it in half.
• The wrong side should be facing each other.
• Set up your sewing machine for a triple stretch stitch with a 2.5mm length. The stitch combined with a shorter length will give it strength.
• If your machine doesn’t do a triple stretch stitch using a regular straight stretch is fine. Remember to start and end with a backstitch.
• Sew both sides together giving yourself a 1/8 inch or up to ½ inch seam allowance. Every machine will have guides that will guide you through the seam allowance to make a straight line.
• Trim the extra threads.
• Repeat with your lining.
Step 7 – Progress Check
• Turn your lining and outer fabric inside out to the right side.
• The lining and the outer fabric should match at the bottom and sides.
• You can see here the top section is uneven. That’s okay. We will be folding these edges inward later.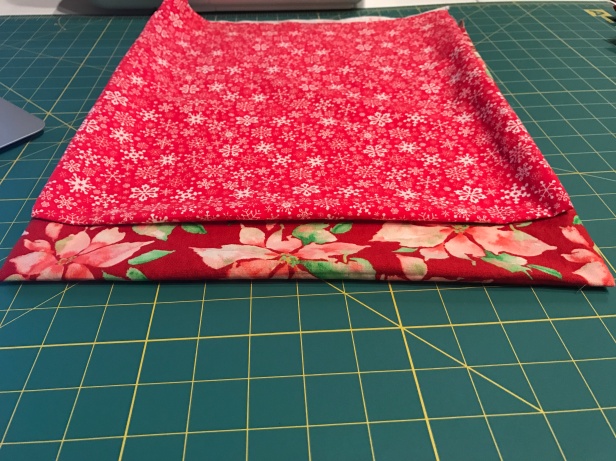

Most of the hard part is not done. The last few steps will consist of attaching the shoulder strap and making the hem.
